
Advice For Installing EASipanel
How To Install MDF Wall Panelling
The below is just general advice to installing EASipanel as every project is different and must be adapted appropriately...
Equipment Needed
- Power or hand saw
- Tape Measure, Pencil & Spirit Level
- Sand paper - (medium or fine grade)
- No More Nails (or similar adhesive) and application gun
STEP ONE - CONDITIONING THE PANELS
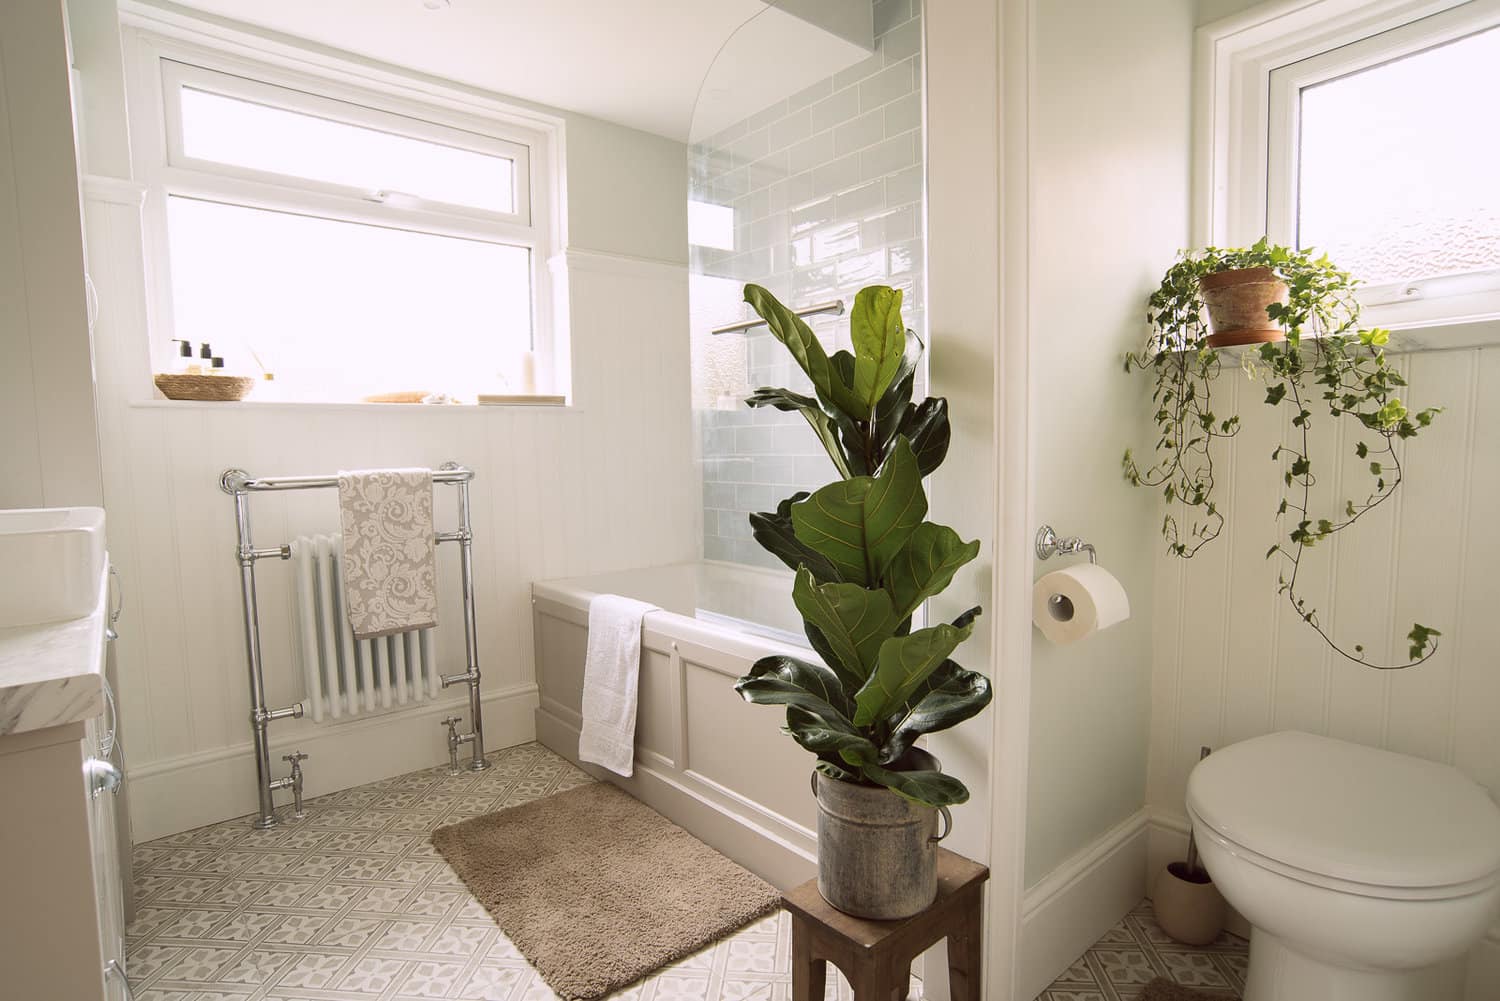
Installing EASipanel™ over existing walls requires no initial preparation other than to make sure the surface is clean, free of grease and secure - removing all loose wallpaper and paint and stabilising any loose plaster.
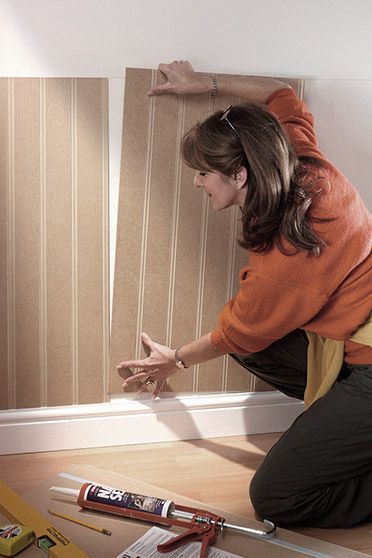
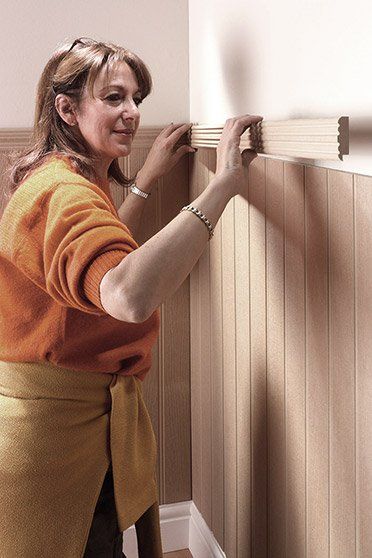
STEP THREE - SETTING OUT
It is preferable to start from the door opening or a corner of the room. Lay the panels around the room to roughly identify where any cutting is required and ensure you have enough EASipanel™ to complete the job. Hold up your starting panel onto the wall ensuring that it is sitting squarely on the top of the skirting and tight into the corner (grooved edge in) or against the door architrave. If gaps are evident then trim the edge to fit correctly before starting. If any panels require cutting it is recommended that you cut them as you proceed with application, as opposed to cutting all the panels before fitting.
(Please take into account any sockets/radiators at this point)
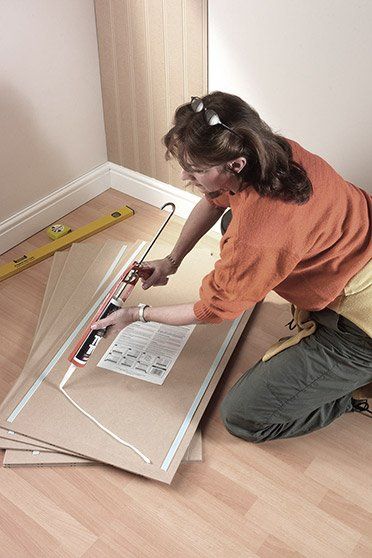
STEP FIVE - APPLYING ADHESIVE
Apply a 6mm width bead of grab adhesive in a 'Z' pattern.
#easipanel #tongueandgroove #wallpanelling #mdf #mdfwallpaneling #fsc #responsibleforestry #wallpaneling #wallpanels #wallpanel #classicpanelling #wallpanelingideas #tongueandgroove #woodpaneling #woodmanufacture #diywalldecor #homediy #diyers #wallpanellinginspo #realhomesofinstagramfarmhousechic #easipanel #homeinspo #wallpanelling #raisedandfielded #wallpanellingideas #diywallpanelling

Head Office
Spa Laminates Ltd
59 Pepper Road
Leeds
LS10 2TH
Contact Us
OFFICE: + (44) 113 271 8311
Email:
info@easipanel.co.uk

Website made with ❤️ by bradleycreative